Letting all my followers know that I will be opening up all my unlisted Youtube videos for my loom knitting patterns to the end of January!!!
This does not mean I will give you details and the written patterns for free. This means you will get most of what you need to make the pattern, but if you want more info support my work!!! :-)
Consider this a gift!!! Please be nice, if you are not nice I will remove the video from viewing!!!!
These are a list of the patterns open for viewing in the images below!!! So take some time and go visit my Youtub Page!!!
3 strands of worsted scrap yarn or 1 strand bulky scrap yarn
polyfil
pony beads
Terms:
DSCO: Draw String Cast On
EW: W-Wrap
P: Purl
2RCC: 2 Peg Right Cable Cross ( see video for help)
2LCC: 2 Peg Left Cable Cross (see video for help)
2RCCP: 2 Peg Right Cable Cross with a Purl ( Place peg 1 on
holder, EW peg 2 move loop to peg 1, place loop from holder onto peg 2 Purl)
2LCCP: 2 Peg Left Cable Cross with a Purl ( Skip peg 1 Purl
peg 2 place on holder, EW peg 1 then move loop to peg 2, place loop on holder
onto peg 1)
DSCOF: Draw String Cast Off
12 pegs: circular:
DSCO 12 pegs
Row 1: EW12
Row 2-4: P12
Row 5: P1, 2RCC, 2LCC, P2, 2RCC, 2LCC, P1
Row 6-9: P1, EW4, P2, EW4, P1
Row 10: P1, 2LCC, 2RCC, P2, 2RCC, 2LCC, P1
Row 11-13: Repeat row 6
Row 14: P1, 2RCCP, 2LCCP, P2, 2RCCP, 2LCC2, P1
Row 15-17: P12
DSCOF
Before closing the ends, stuff the owl fatter at the bottom
thinner at the top. Close off top and bottom. Hot glue in pony beads for eyes,
and optional beak.
Terms:
EW: E-Wrap
CO: Cast On
K: Knit
P: Purl
ID: Internal Decrease
COF: Cast Off
24 peg loom: Flat: 1 strand of yarn
EW CO 24 Pegs
Row 1-2: K24
Row 3: P24
Row 4-7: K24
Row 8: P24
Row 9-12: K24
Row 10: P24:
Row 11-30: K24
Row 31: ID 24to12 pegs
Row 32-41: K12
Row 42: P12
Row 43-44: K12
Row 45: P4, COF4, P4
Row 46-49: P4
COF
Repeat other side P4 pegs 4rows then COF
Tighten Cast on, make 2, sew sides of dress up to waist. Sew shoulder straps. Tuck your ends in. Your done!!!
Items:
12 peg loom
looming hook
crafters needle
crochet hook
polyfil
2 eyes
1 Skein of yarn 4ply doubled strands
Terms:
DSCO: Draw String Cast On
EW: E-Wrap
DEW: Double E-Wrap
P: Purl
D: Decrease
COF: Cast Off
DSCOF: Draw String Cast Off
Head: 12 pegs: Circular:
DSCO 12 pegs
Row 1: EW12
Row 2-8: DEW12
Row 9: DEW5, (Nose DEW1 5times), DEW6
Row 10-20: DEW12
DSCOF
Close off top of head, tighten cast on to straight rather than loose. Stuff.
Body: 12 Pegs: Circular:
DSCO 12 pegs
Row 1: EW12
Row 2-3: DEW12
Row 4: P12
Row 5-15: DEW12
COF
Close up bottom, stuff, sew head on body.
Arms: 9 pegs: Flat
DSCO 9 pegs
Row 1: EW9
Row 2-4: DEW9
Row 5: DEW4 (Thumb DEW2 5times) DEW3
Row 6: DEW9
Row7: D1 DEW1, DEW5, D1 DEW1 (7)
Row 8: D1 DEW1, DEW5 (6)
Row 9-17: DEW6
COF
Make 2, Sew up arm side, stuff, then sew on the sides of the body at the very top of the body.
Legs: 12 pegs: Flat:
DSCO 12 pegs
Row 1: EW12
Row 2-4: DEW12
Row 5: D1 DEW1, DEW8, D1 DEW1 (10)
Row 6: D1 DEW1, DEW6, D1 DEW1 (8)
Row 7-15: DEW8
COF
Make 2, Sew up the front of the leg, stuff. Then sew on the purled line, lining the outer edges of the legs with the arms.
Add eyes and embroider mouth. Add hair and your done. :-)
Note: Doing the hair you have several techniques you can do, I would suggest looking them up online. I personally take a lid wrap the yarn around it several times and sew the strands together. Then I hot glue the seam in and fold it in half. This keeps the hair from coming out.
Basic Technique
EW CO 6
EW6
Row1: EW6, EW3 2Row, EW4 2Rows, EW5 2Rows, EW6 (Repeat this technique)
If you want to enlarge it make sure to start the pattern at half the amount of pegs and work way back to the beginning. Also feel free to Purl or Knit the rows as well as EW. If you don't want it to curl Purl the next to the last peg on the outer spiral. If you EW double up your yarn.
Supplies:
Hot Glue Gun and lots of glue
Regular Elmers Glue
Popsicle Sticks
Pistachio Shells
Old Magazine
Pony Beads
Wooden Beads
Tooth Picks
Craft Paint
Ruler
Scissors
Cardboard from a small boom box package
Masking Tape
Egg Carton
Printer
Most of these supplies are recycled materials and should be easy to come by or you could ask a friend for if they use items you don't. This is a fun project and even a child should be able to get involved in making this.
Start off by cutting holes in the tops of your lifted edges of your cardboard from the small boom box package like in video. Then add the egg carton bottoms cut individually to the tops of the cut holes by hot gluing them on. Then masking tape the whole top.
Next step, hot glue 2 popsicle sticks together to create a corner. Do this 4 total times. Then hot glue them into your corners. After that hot glue in your other popsicle sticks to create breaks along the long sides of the cardboard. The hot glue popsicles sticks at the base all the way around to create a standing building, as shown in video.
After that you move to prepping your shingle areas on your roof. So take pages out of your old magazine and fold them in half 4 times. Use your ruler to measure an inch down marking your inch zones. Now cut a straight line on your first inch zone then cut a triangle on the other side. Repeat this step and to keep your triangles even use your first cut out as a guide. You will need enough to cover the roof area. When gluing these on you use elmers glue, making sure to stagger your triangles. Start from the bottom and work to the top.
After this you want to hot glue on your pistachio shells to the popsicle sticks to create a stone looking texture. Once this is done then go in and fill the space between them in with hot glue like mortar.Also hot glue on the shells from bottom to top of the egg carton domes.
Now you want to take your tooth picks and shove them into the tops of the egg carton areas. Then put a wooden bead down first, then a pony bead hot gluing them down. The on the top edges of the roof hot glue pony beads around the edge.
Wow that was some work right, but now as weird as this things looks so far, lets bring it to life with some paint. So you want a white canvas base so either spray paint or just paint the entire things white. OMG the castle appears and looks neat then.
Now you want to paint the pistachio shells grey or silver at the base like stone. The roof what ever color you want, and the pistachio shell domes gold as well as the beads. Adding fun glow in the dark accents, sponge on glow in the dark green around the base, glow in the dark orange at the tips of the roof triangles, and glow in the dark yellow on the edges of the domes.
After this print up the images below to add to your castle so that when the light shines through it will give you a beautiful image. Don't forget you will need the mirror image of the images. 2 of the couple, 2 of the dragon, and 4 of the knight and horse. After printing and cutting them to size glue them in with elmers glue.
To add an extra touch poke holes in the roof to create light spots when lit up on the ceiling in a nice pattern.
Your Done!!! Add your lights and watch the beautiful fun!!!
Note when figuring out the size to print your images measure the space to see the closest size to choose.
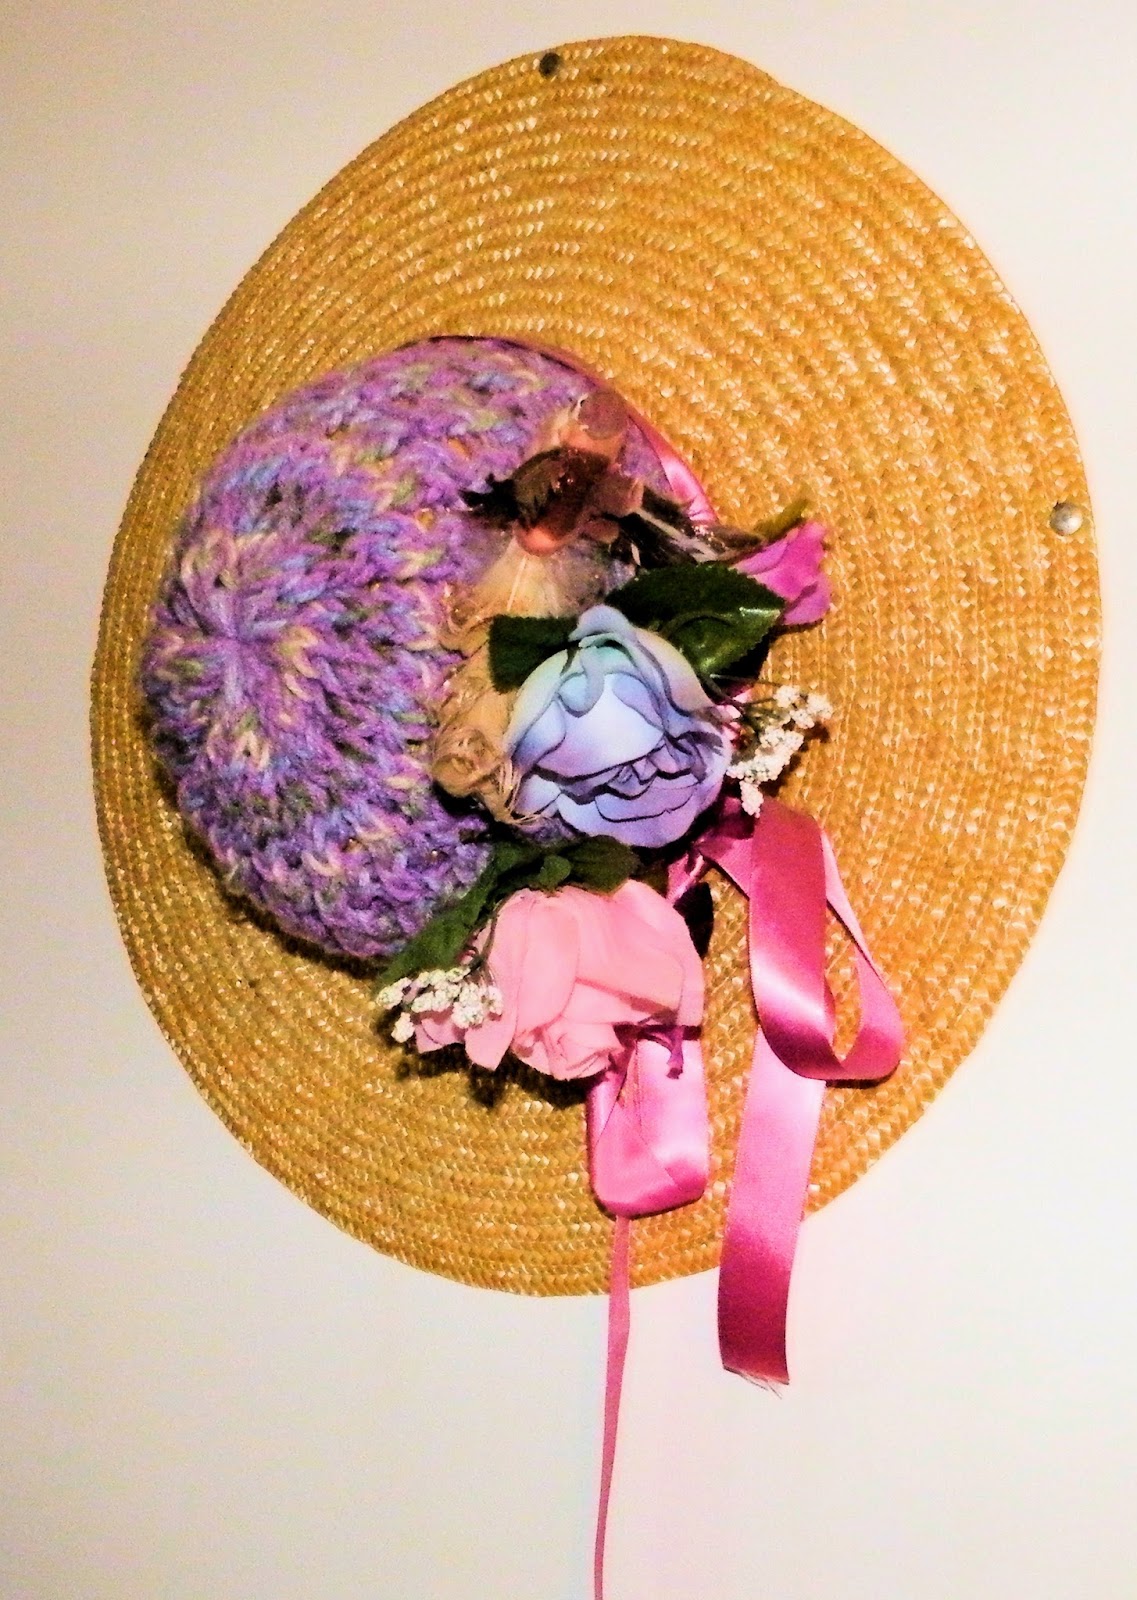
Attaching pins to head bands and hats are wonderful ways to decorate your head. I use plenty for my dancing costumes from flowers, feathers, to skulls, and tassels.