The Muse Scarlett Yvette Royal

The Muse Scarlett Yvette Royal

Monday, May 16, 2016

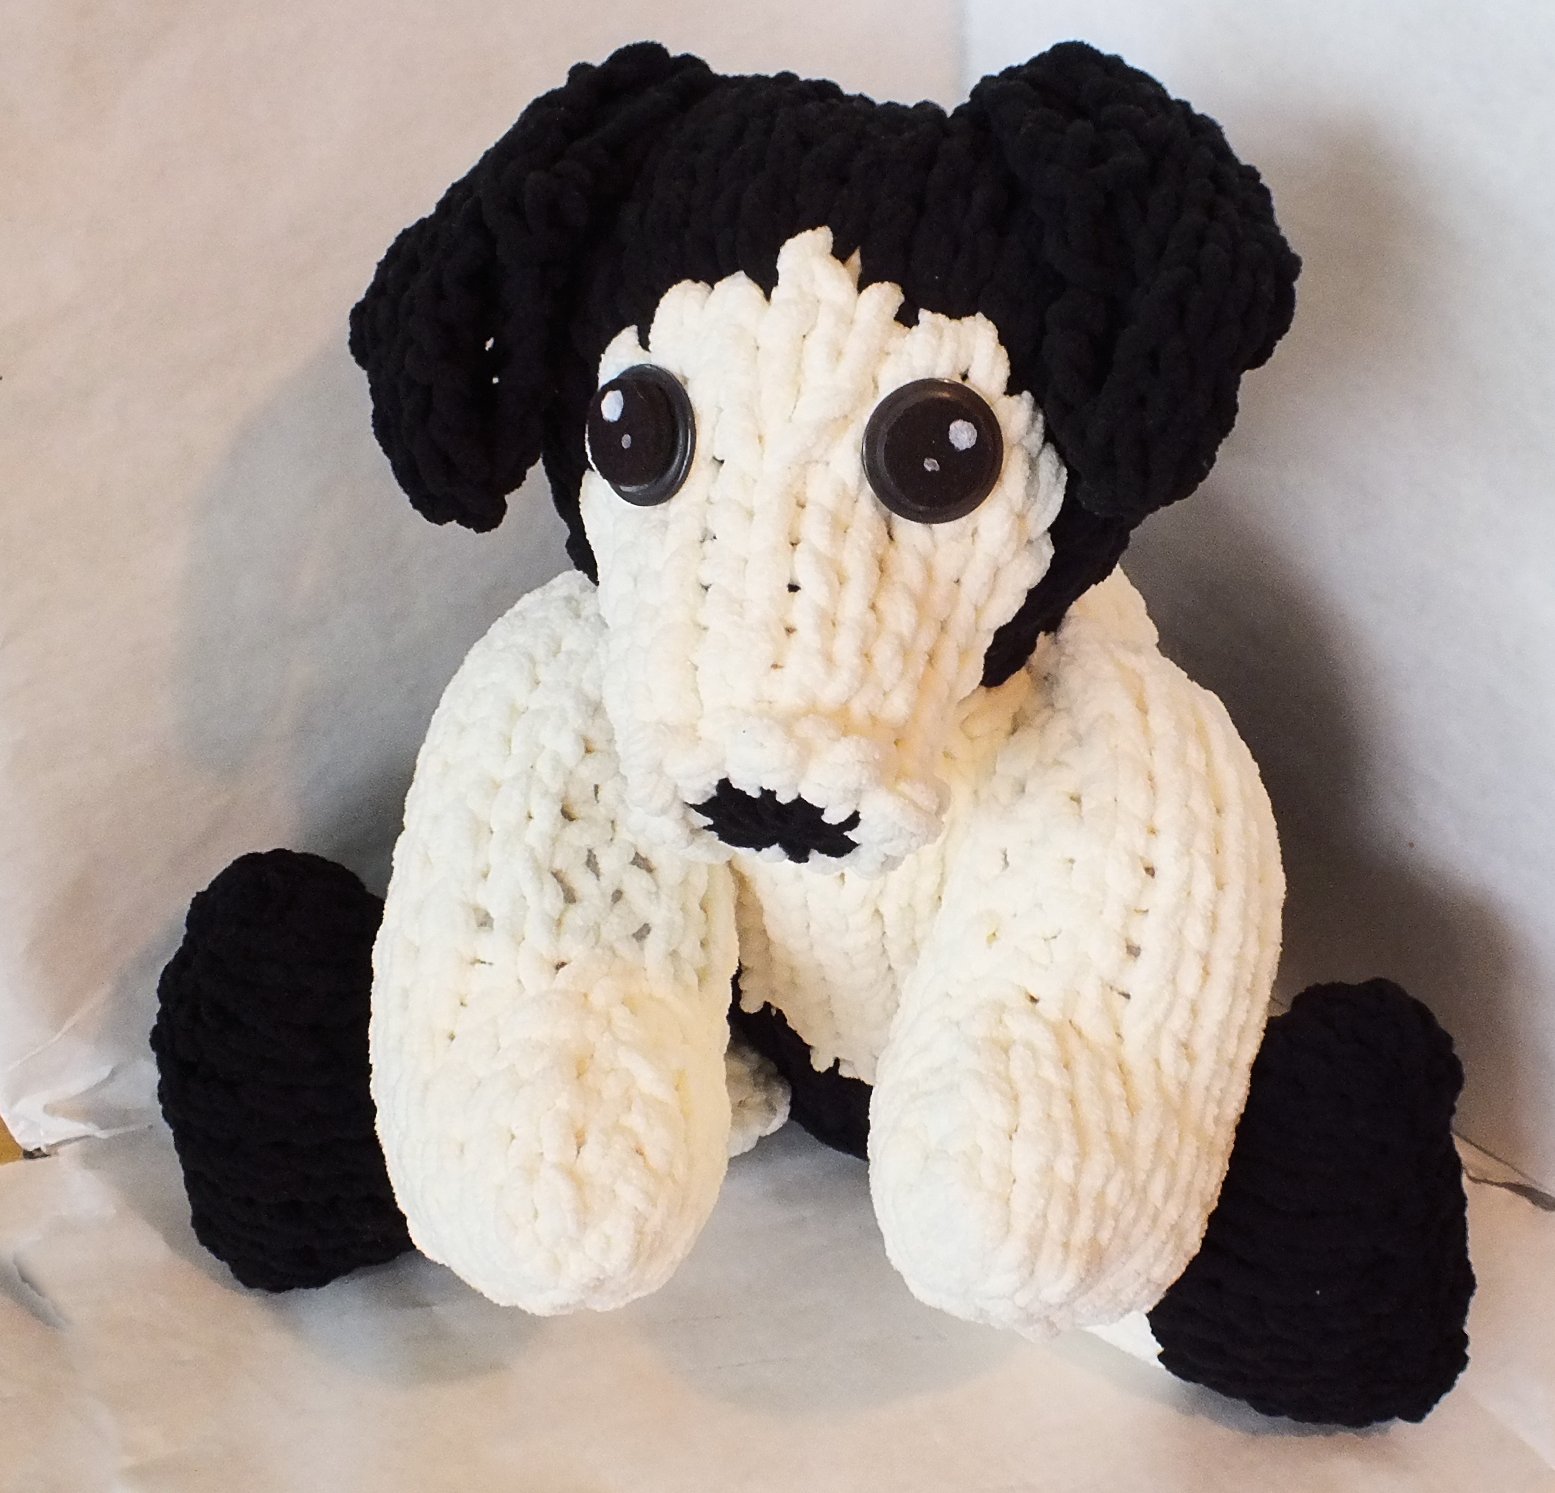
How to Loom Knit a Super Sized Doggy


Video Help:
Internal Decrease: https://youtu.be/GgoyJPbXSBk
Assembly Like Bear: https://youtu.be/69JMpqUnAdI

Items:
40 peg loom at least for using the 2 peg EW
Looming Hook
Crafters Needle
Crochet Hook (to hide ends)
2 Large Skeins of Bernat Blanket Yarn (you will be using yarn bulking technique.)
Polyfil
2 Large Eyes

Terminology:
CO: Cast On: EW your working yarn around the back of 2 pegs around the front of those 2 pegs and back around to the back, move to the next 2 pegs repeating the same step.
EW: E-Wrap: Repeat movement for CO, but toss the bottom loop over the top.
P: Purl: Send the working yarn through the bottom of the loop, pull through to the top, take off original loop and place new loop around the 2 pegs.
D: Decrease: Move the outer stitches to the next peg.
ID: Internals Decrease: Move every other loop to the next peg, EW the pegs toss both bottom loops over the top loop. Bring loops together and tighten up your loops.
DSBO: Draw String Bind Off: Send your cut tail through every loop and draw string together.
BO: Bind Off: EW2, Move loop 2 to peg 1 toss bottom loop over. Move loop over to peg 2. Now EW the second peg, move that loop to peg 1, toss bottom loop over and move that loop over to peg 2. Repeat from the EW second peg.
BCOLU: Bring Cast On Loops Up: Find your cast on loops and bring them back on the loom to bring 2 ends together for a finish. 

This pattern may seem intimidating, but if you have made my bear pattern before this is the same concept. The ears and tail are done separate. To get you started watch the video of the 2 peg EW it will show you the cast on and the general method of EW and Decrease. Then look at the how to bulk up your yarn so that you don't have your polyfil showing when the project is done. After that for a great general step by step follow the teddy bear video. The pattern is also written for a solid color dog.

Head: 20 stitches: Flat:
EW CO 2 pegs for 20 stitches.
Row 1-16: EW
Row 17: ID 20 to 10 stitches
Row 18-24: EW (if you want a different colored snout change your yarn color on row 18)
Row 25: P
Row 26-27: EW (for a black nose change your color on row 27)
Decrease by every other peg and DSBO
Close up back of head and sew up snout. Stuff.

Body: 20 stitches: Circular:
EW CO 2 pegs for 20 stitches.
Row 1-20: EW ( for upper body to be 1 color and the lower half another do 8 rows of your first color and finish the rest with your main color)
Row 21: P
Row 22-28: EW
Decrease by every other peg and DSBO

Legs: 18 stitches: Flat:
EW CO 2 pegs for 18 stitches
Row 1-6: EW
Row 7: D1 EW1, EW14, D1 EW1 (16)
Row 8: D1 EW1, EW12, D1 EW1 (14)
Row 9-21: EW
BO
Make 4, sew up bottom and front, stuff. Feel free to do a set of legs in one color and another set in another color if desired.

Ears and Tail: 8 stitches: Flat:
Note: Don't bulk your yarn here, just use a single strand of the Bernat Blanket Yarn.
Row 1-10: EW
Row 11: EW7
Row 12: EW6
Row 13: EW5
Row 14: EW4
Row 15: EW3
Row 16: EW2
Row 17: EW3
Row 18: EW4
Row 19: EW5
Row 20: EW6
Row 21: EW7
Row 22: EW8
Row 23-33: EW
BCOLU and BO
Make 3.

Sew head onto body, the line your top legs up with the top of the body on the side of the body. Then the bottom legs sew along the bottom edge, on the purled line on the body. Then sew on your ears and tail. Add your eyes at the base of the snout lined up with the inner part of the ear.  

Wednesday, February 24, 2016

Any Loom, Any Hat, Anytime Loom Knitting Book

Ready on Amazon and Kindle in Paperback and Digital!!!  

The Book is Ready!!!! http://www.ravelry.com/patterns/sources/any-loom-any-hat-any-time/patternshttp://www.ravelry.com/patterns/sources/any-loom-any-hat-any-time/patterns


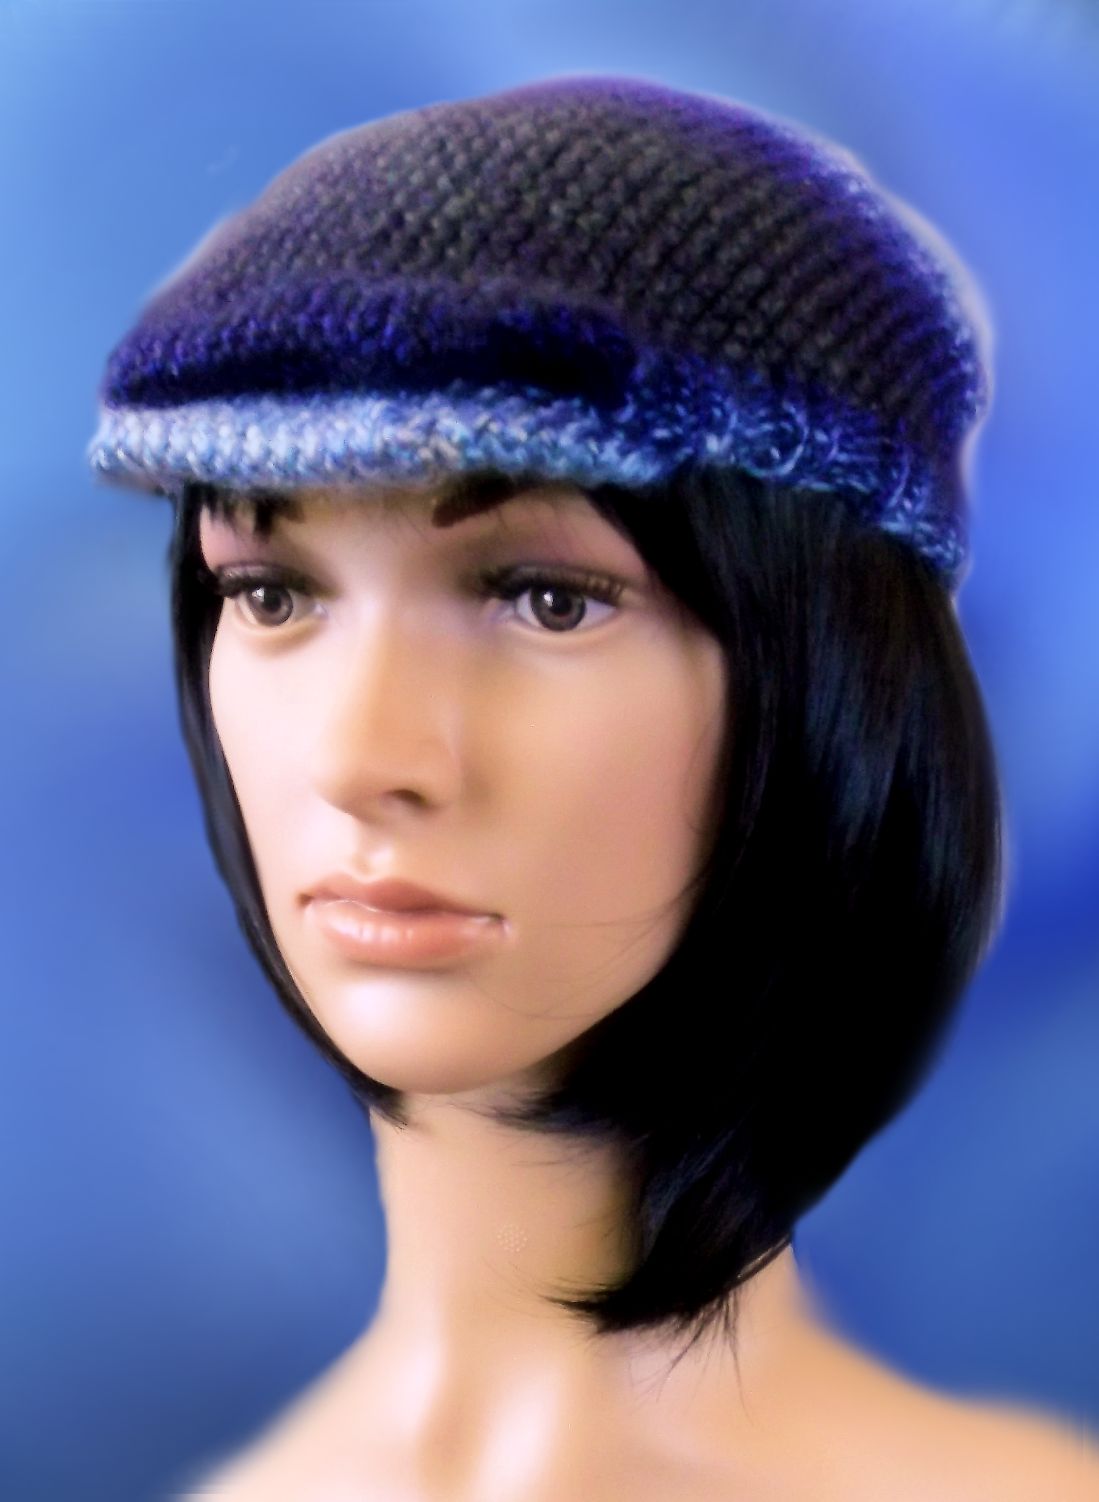
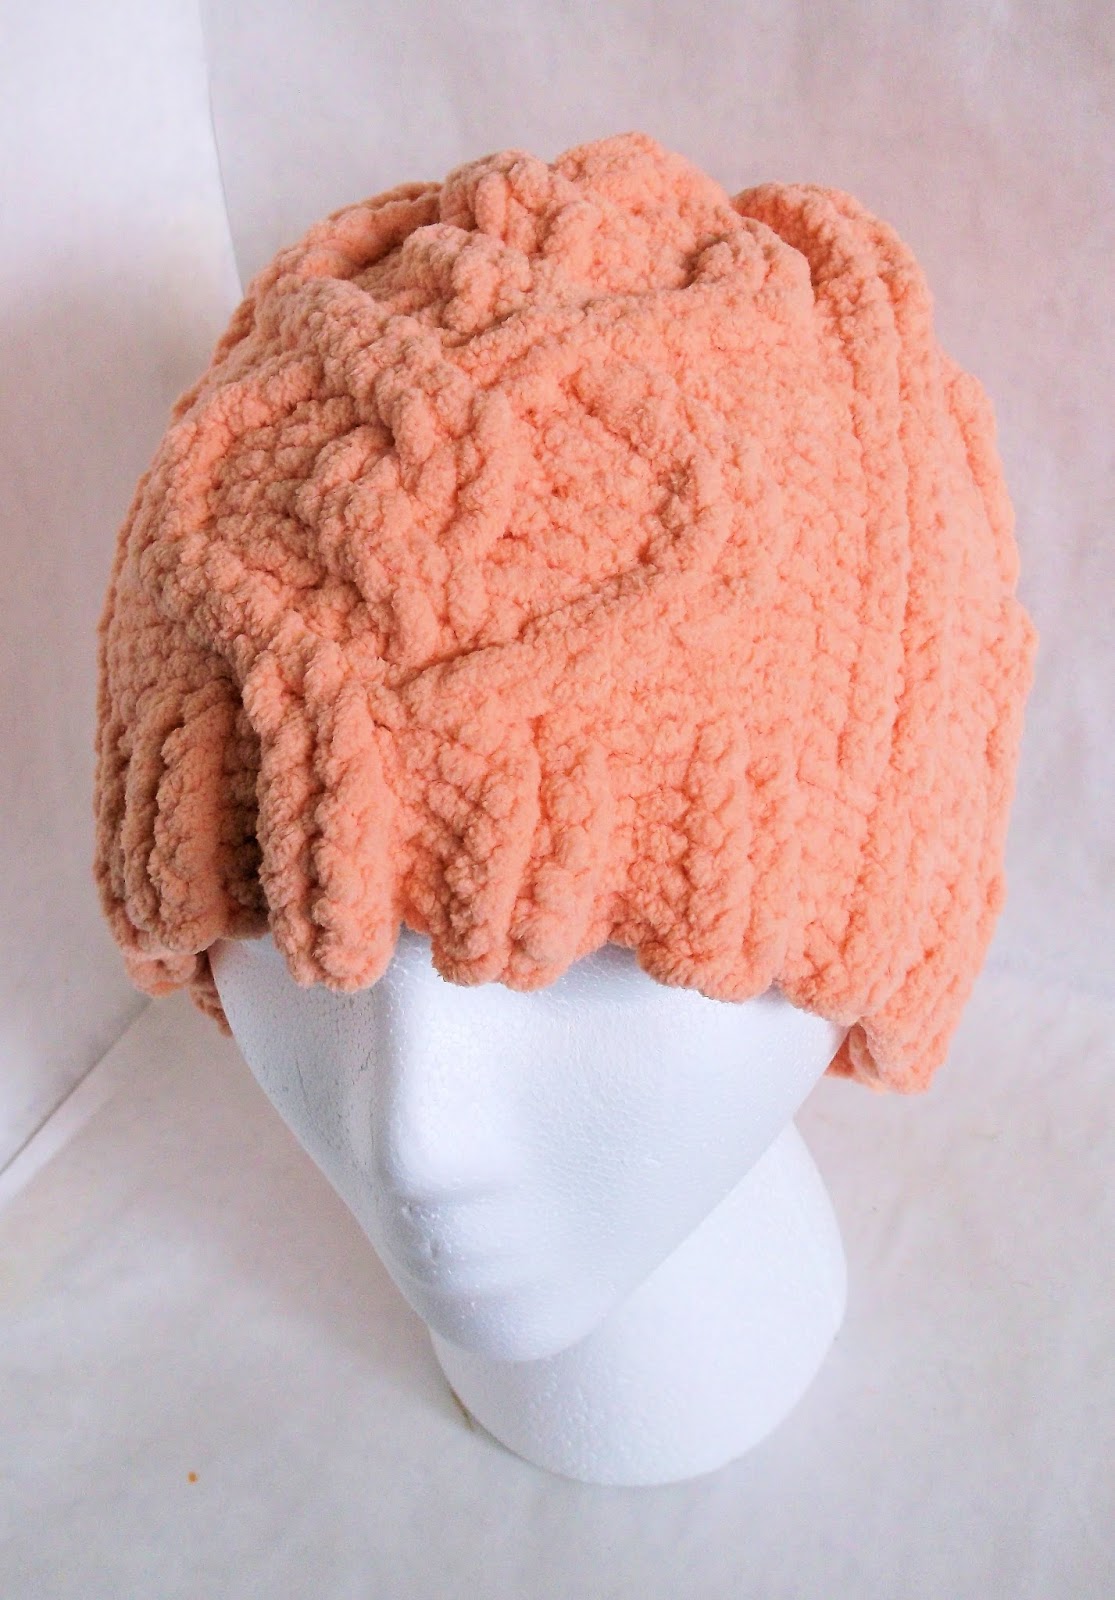
Right now I am in the process of testing out my theories on different hat styles and how to make them on virtually any loom you may possess. It will be using basic math skills to figure out how to go about making some basic styles of hats, like...... cloche, beanie, slouch, earflap, newsboy, ski mask, hood, cap, and beret.

So far I have the cloche, earflap, newsboy, slouch, and beret written up and videoed. I still need to go in and refine my ski mask, hood, and cap.

Hoping to have the book ready in a couple of months.

This will be a wonderful book to add to a reference collection that can help you go about making your own patterns using different stitches, and stitch patterns. So be keeping an eye out for this book.

Here are a few images of the hats I have been working on.


Saturday, February 6, 2016

Loom Knit Fine Gauge Drawstring Bind Off


The purpose of the 6 rows is to slowly decrease the crown, then drawstring off. The use of flat knit is when those spaces between the decrease are filled in once the hat is taken off the loom and the crown is stretched to set the flat knit. If you don't do the slow decrease this is what the crown ends up looking like. 


 You will notice the center is smooth yet the area around the center is wavy. So by the process of doing the 6 rows before the draw string, and stretching the stitches out after taking off the loom gets you a very smooth result when placed on the head. 
Now if you have stitches in the 90 or more range I would suggest adding an extra row, meaning instead of 2 knit rows after the decrease do 3 or 4 in each section after the decrease. You won't notice the smoothness until you place the hat on the head. Take a look at the video for more clear instructions.
If you would like written instructions please see those below. Also will be adding photo instructions later on.
 
FGDSBO: Fine Gauge Drawstring Bind Off: It consists of 6 rows.
Row 1: K1 D-> toss bottom loop over, K2 Repeat all the way around ( this means every 4 peg should be empty.)
Row 2 and 3: K only pegs with stitches
Row 4: K1, K1 D-> toss bottom loop over, K1 Repeat all the way around (this means every other peg will be empty
Row 5 and 6: K only pegs with stitches
Now to drawstring, send the tail through every other stitch in round 1 all the way around, then in the next round send the tail through the stitch left. Drawstring together starting to tug on the inner circle 1st then the outer.

Tuesday, January 12, 2016

Loom Knit Cable Craze

Loom Knit Cable Craze!!!

So many loom knitters are really getting curious about the realm of loom knitting and cables. Well I love to loom knit cables, so if your interested in viewing some tutorials and some patterns to try take a look at the information below. They range from chunky cables, owl cables, cable braids, to heart cables. Also things you can wear on your head, feet, and body!!!
Video Tutorials


 Free Patterns
Christmas Stocking, Cabled Owl Hat, Cabled Santa Hat, Chunky Cabled Hat, Sandal. 


 Challenging Cable Patterns
9 Stitch Chunky Braided Hat, Arm or Leg Warmer, Cabled Hooded Cowl, Heart Cabled Hat, Multi Cabled Toddler Sweater, Leaf Poncho Cable Rabbit Booties, Cable Rabbit Hat, Interlace Heart Remembrance Hat, Braided Cable Socks.


Fake Them Cables With a Faux Cable
Lady Explorer Hat and Fingerless Gloves (patterns in progress), Spiral Chunky Faux Braid Hat, Garter Slip Chain Book includes 8 patterns


Loom Knit Gusset Style Heel for Socks

I have always loved looking at needle knitted socks that have the heel, where the stitch design goes to the bottom of the heel. Seems like such a nice fit, and so clean looking. Well I went looking and the one tutorial I found, well looked more complicated than I liked. Wondered if it could be simplified a lot. So off I went, and figured it out. 
Here is the video showing to it is done. 
Let me break it down as best I can if you are a reading instructions kind of person.
Step 1:
What every loom you are using divide the pegs in half, one half of those pegs will be the heel section.

Step 2:
Use a drawn out foot mold to find out how many pegs you need for your heel.


Step 3:
Then count out the pegs on either side of your heel pegs. This is the amount of rows you will need to do for you heel flap.

Step 4:
Do the number of rows you calculated from step 3 making sure to skip the 1st peg in each row so that it can be slip stitched for the next row. This allows for easy visuals to put back on the pegs later as the gusset.

Step 5: Bind off the number of pegs on 1 side of your heel pegs, finish the row, then bing off the pegs on the other side of the heel pegs. The empty pegs should be the same as your what you had for step 3. (alternative: put the stitches on 2 different stitch holders, start by placing the stitch furthest away from you heel pegs onto the stitch holder 1st, then move in. Also you will need to knit into where your 1st heel peg is to start before placing stitches onto stitch holders)

Step 6: Slowly on each row add your stitch or bind off stitch closest to the heel back on 1 rows at a time, 1 side at a time. This means you should be doing the same number of rows you did to make your heel flap, you are just making the curve to the bottom of the heel.

Step 7: Add your slip stitches from the heel flap back to the empty pegs on both sides of the heel.This will be the gusset section as you work. 
Now you are ready to finish your sock.


Wednesday, December 30, 2015

Loom Knit Garter Slip Chain Patterns (introducing faux braid with no bind off or cast on)


The "Loom Knit Garter Slip Chain Patterns" is my new book. It introduces a new way of doing the faux braid. It is quicker and more versatile than other methods of the faux braid. There is no bind off and cast on to create this faux braid. So before you think, "Yeah seen it." nope, take a look at my video of how I do the faux chain. Then I hope you find the inspiration of all you can do with this technique.


In the new book I provide a basic panel using the garter stitch, slip stitch, and the chain or faux braid in a panel. This book shows you how to take this concept, and customize it, to yourself, or friends and family.

Ten patterns are in the book, but the cost is $8, that is less than a dollar a pattern. The book also contains written, photo, and video instructions. Please see images below to the patterns that are included.


What do you need? 18, 30, 60 peg loom or a universal loom that can adjust to however many pegs you would like. I used these peg looms in 1/2" gauge in CinDwood looms. I also used Lions Brand Wool Ease Thick and Quick Stripes for most of the products, as well as Bernat Softee Chunky and Premier Yarn Spangle.
See my reviews of the yarns below.
So if I have caught your interest on this new technique, here is a sneak peak at my plans to do some unique fun stuff with in the future!!!!