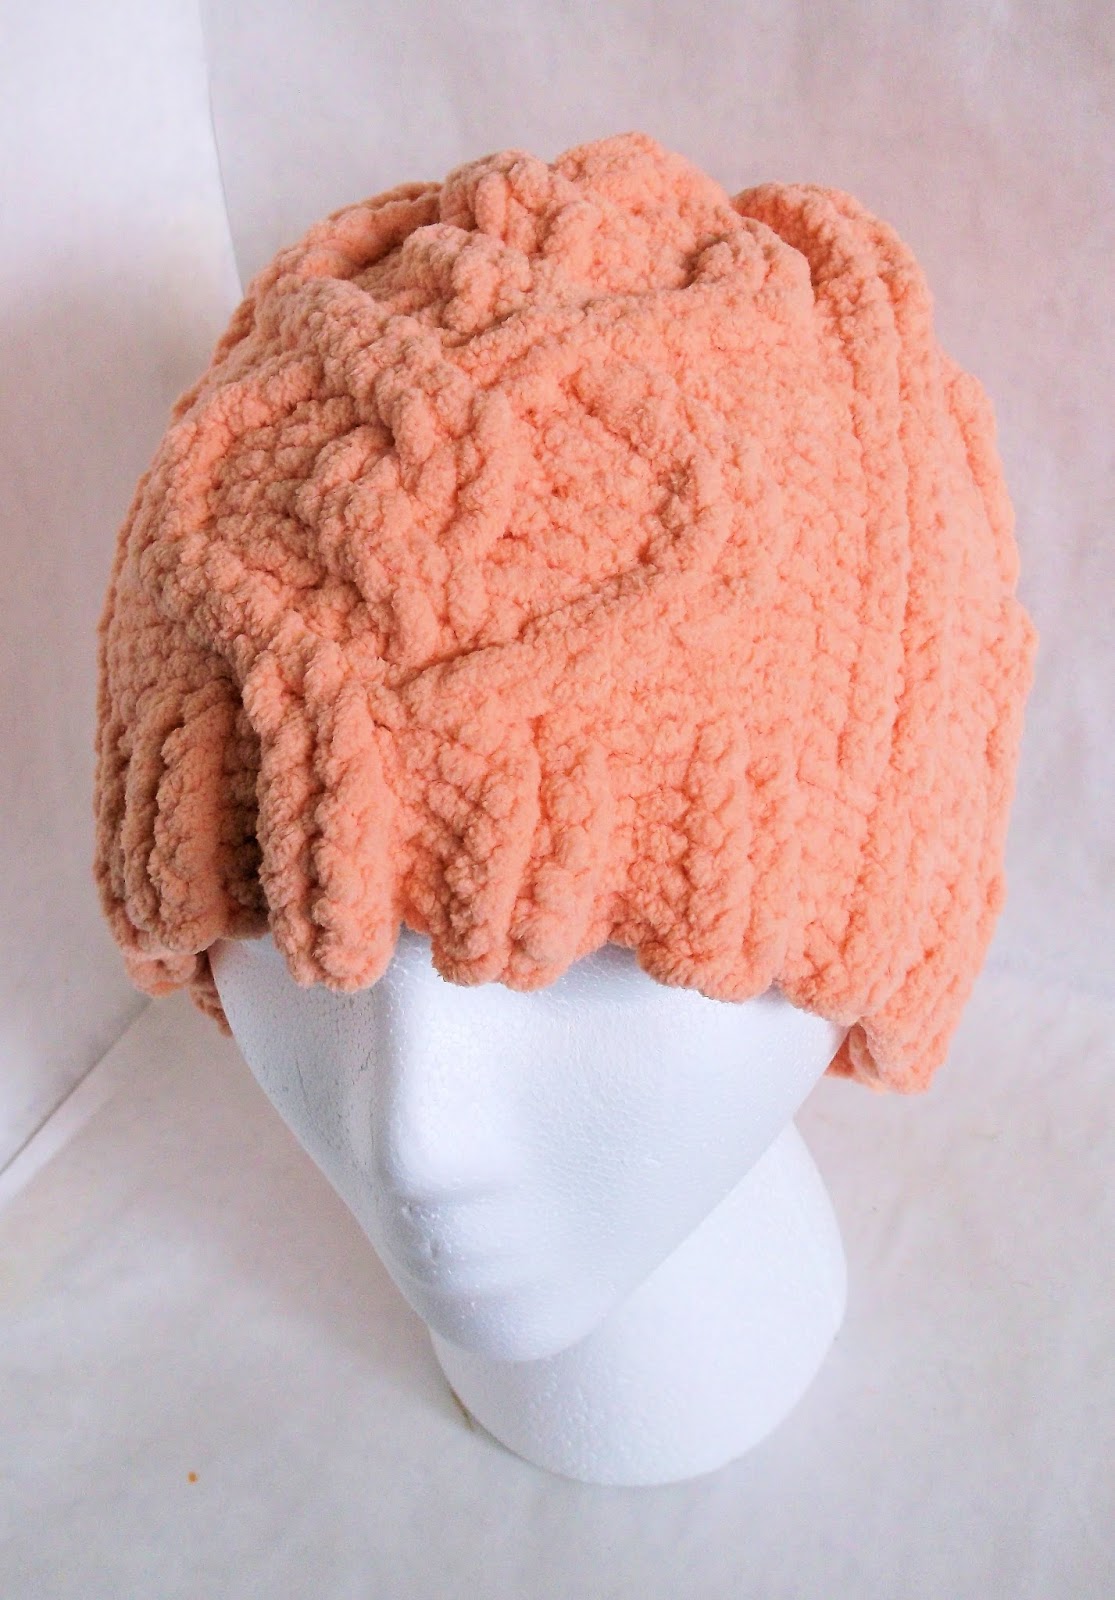
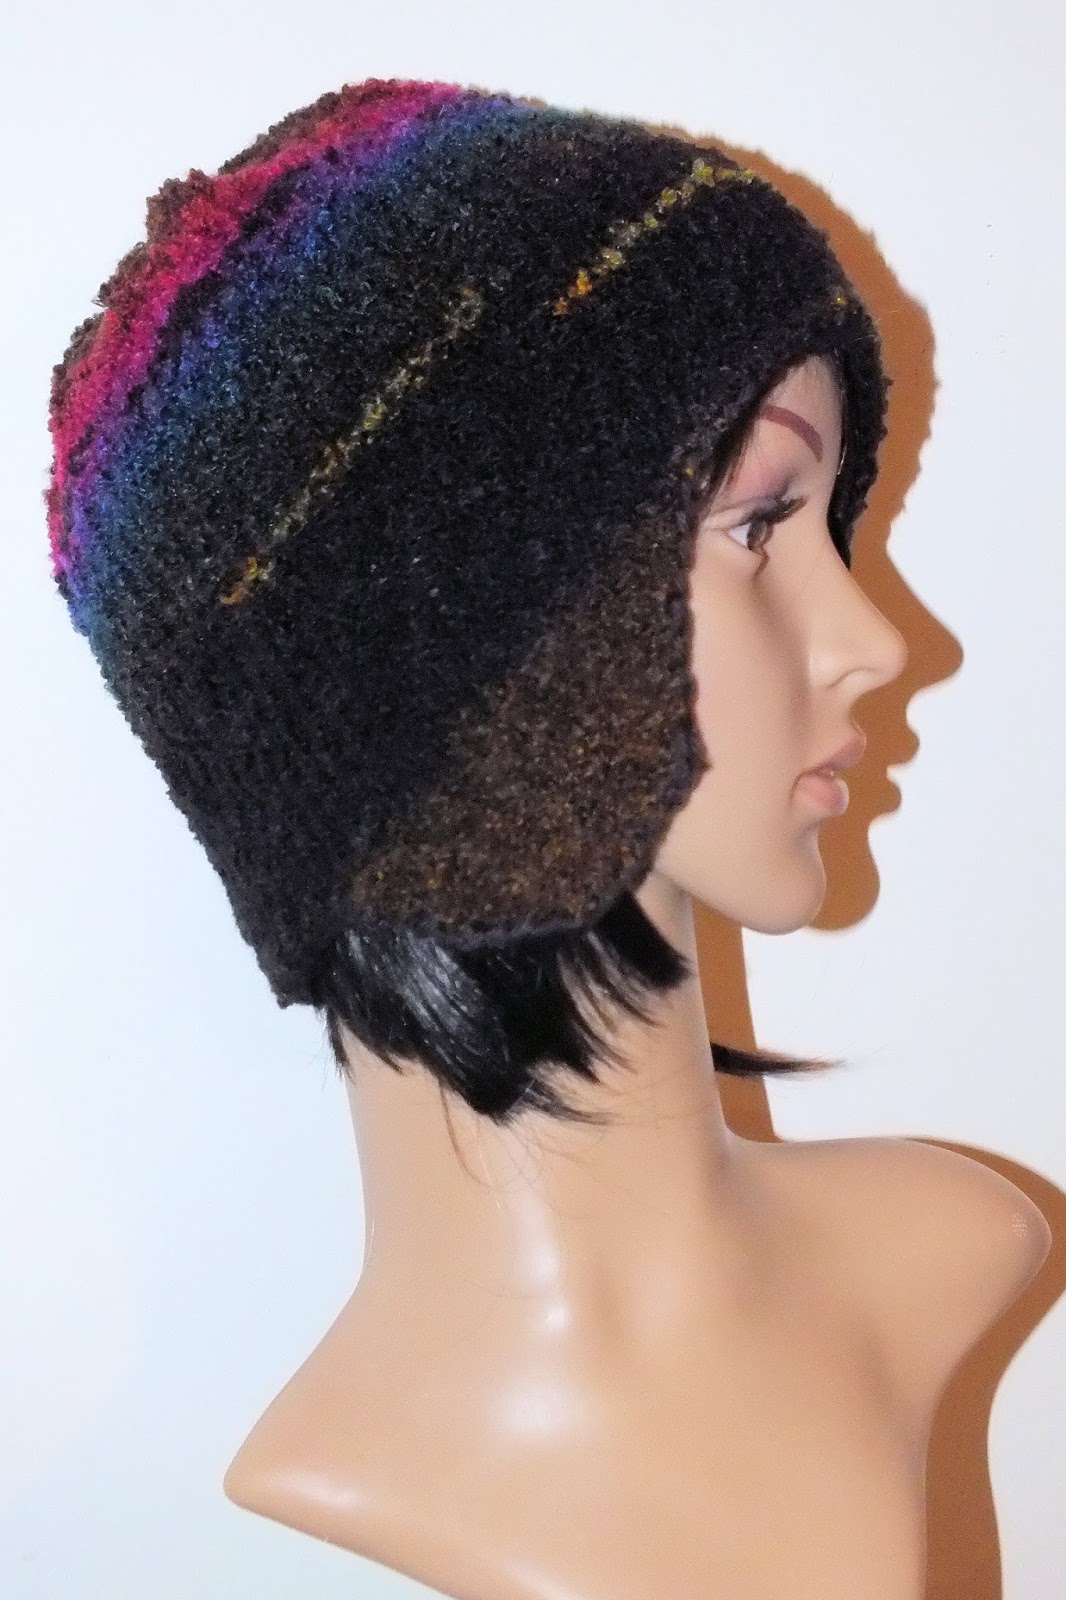
So many loom knitters are really getting curious about the realm of loom knitting and cables. Well I love to loom knit cables, so if your interested in viewing some tutorials and some patterns to try take a look at the information below. They range from chunky cables, owl cables, cable braids, to heart cables. Also things you can wear on your head, feet, and body!!!
I have always loved looking at needle knitted socks that have the heel, where the stitch design goes to the bottom of the heel. Seems like such a nice fit, and so clean looking. Well I went looking and the one tutorial I found, well looked more complicated than I liked. Wondered if it could be simplified a lot. So off I went, and figured it out.
Here is the video showing to it is done.
Let me break it down as best I can if you are a reading instructions kind of person.
Step 1:
What every loom you are using divide the pegs in half, one half of those pegs will be the heel section.
Step 2:
Use a drawn out foot mold to find out how many pegs you need for your heel.
Step 3:
Then count out the pegs on either side of your heel pegs. This is the amount of rows you will need to do for you heel flap.
Step 4:
Do the number of rows you calculated from step 3 making sure to skip the 1st peg in each row so that it can be slip stitched for the next row. This allows for easy visuals to put back on the pegs later as the gusset.
Step 5: Bind off the number of pegs on 1 side of your heel pegs, finish the row, then bing off the pegs on the other side of the heel pegs. The empty pegs should be the same as your what you had for step 3. (alternative: put the stitches on 2 different stitch holders, start by placing the stitch furthest away from you heel pegs onto the stitch holder 1st, then move in. Also you will need to knit into where your 1st heel peg is to start before placing stitches onto stitch holders)
Step 6: Slowly on each row add your stitch or bind off stitch closest to the heel back on 1 rows at a time, 1 side at a time. This means you should be doing the same number of rows you did to make your heel flap, you are just making the curve to the bottom of the heel.
Step 7: Add your slip stitches from the heel flap back to the empty pegs on both sides of the heel.This will be the gusset section as you work.
Now you are ready to finish your sock.
The "Loom Knit Garter Slip Chain Patterns" is my new book. It introduces
a new way of doing the faux braid. It is quicker and more versatile
than other methods of the faux braid. There is no bind off and cast on
to create this faux braid. So before you think, "Yeah seen it." nope,
take a look at my video of how I do the faux chain. Then I hope you find
the inspiration of all you can do with this technique.
In the new book I provide a basic panel using the garter stitch, slip stitch, and the chain or faux braid in a panel. This book shows you how to take this concept, and customize it, to yourself, or friends and family.
Ten patterns are in the book, but the cost is $8, that is less than a dollar a pattern. The book also contains written, photo, and video instructions. Please see images below to the patterns that are included.
What do you need? 18, 30, 60 peg loom or a universal loom that can adjust to however many pegs you would like. I used these peg looms in 1/2" gauge in CinDwood looms. I also used Lions Brand Wool Ease Thick and Quick Stripes for most of the products, as well as Bernat Softee Chunky and Premier Yarn Spangle.
See my reviews of the yarns below.
So if I have caught your interest on this new technique, here is a sneak peak at my plans to do some unique fun stuff with in the future!!!!
Letting all my followers know that I will be opening up all my unlisted Youtube videos for my loom knitting patterns to the end of January!!!
This does not mean I will give you details and the written patterns for free. This means you will get most of what you need to make the pattern, but if you want more info support my work!!! :-)
Consider this a gift!!! Please be nice, if you are not nice I will remove the video from viewing!!!!
These are a list of the patterns open for viewing in the images below!!! So take some time and go visit my Youtub Page!!!