All E-Books and X Loom Patterns 50% Off the Month of July!!!
Plus a few patterns with no videos!!
If you do not have a ravelry page please let me know, you can still participate in the sale!!! I will work to get you the pattern or e-books privately.
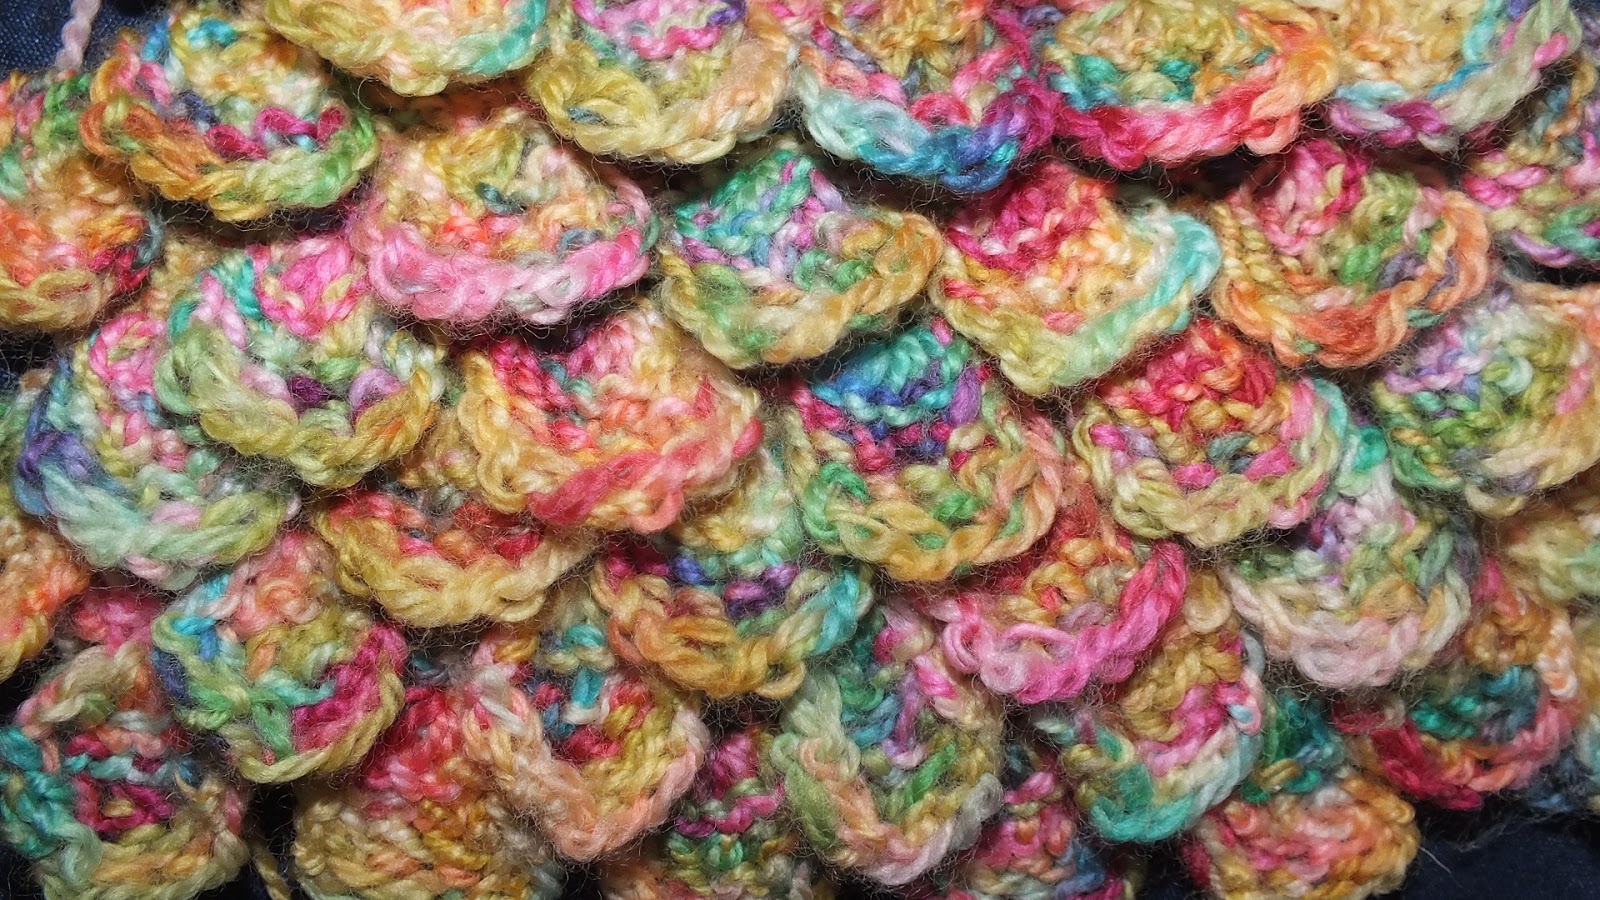
You might be asking how is this new.... well it is new because this isn't my first time playing with crocodile stitch on the looms. I came up with a method several years ago that worked beautifully, but to be quite honest used up a lot of yarn and was quite bulky.
This new method is delicate, uses less yarn, and lacks the bulk that my original way had. The wonderful news is that Christie Davis inspired the new method with her "Drifting Pedals Trim"
(Please check it out, beautiful trim!!!) She also shows how to do a pedal from a right handed method.
There are some unique things to keep in mind with this new crocodile stitch. My original the scale showed up on the positive side of the fabric when being worked. This version does not, it shows on the opposite side and is inside the loom when working. That means if you are adding as an accent you will need to do the opposite of what you normally do when doing knits and purls to achieve a stitch pattern you are after.
With that said lets gets to writing this out in detail.
Terms:
E-Wrap Cast On: EWCO
K: Knit
P: Purl
Knit 2 Stitches Together: K2tog
E-Wrap: EW
Slip: SL
Purl Pull Loop: PPL: meaning you are going to create a loop and then pull through the bottom of each loop for the pedal to prep to gather the stitches.
Pedal Break Down
EWCO 6
Row 1-6: K1, P1, K1, P1, K1, P1
Row 7: EW6, K1
Row 8: PPL place loop made onto peg 1 of the 6 peg cast on pegs. K previous peg, then K2tog
Worked Flat
EWCO (looms in counts of 5's)
In the video I used a 24 peg loom which worked well too.
Row 1: P
Row 2: K
Row 3: P
Row 4: SL1 *(pedal: EWCO6, K1 P1 3x for 6 rows, EW6, K1, PPL place loop made onto peg 1 of the 6 peg cast on pegs. K previous peg, then K2tog), K3 ** Keep in mind when doing the pedal do not touch the stitches that already exist on the peg. The pedal is being worked above those stitches. Also repeat from *-** until desired length.
Row 5: SL1, P
Row 6: SL1, K
Row 7: SL1, P
Row 8: SL1, K
Row 9: SL1, P
Row 10: SL1, K2,*(pedal: EWCO6, K1 P1 3x for 6 rows, EW6, K1, PPL place loop made onto
peg 1 of the 6 peg cast on pegs. K previous peg, then K2tog), K3 ** Keep
in mind when doing the pedal do not touch the stitches that already
exist on the peg. The pedal is being worked above those stitches. Also
repeat from *-** until desired length.
Row 11: SL1, P
Row 12: SL1, K
Row 13: SL1, P
Row 14: SL1, K
Row 15: SL1, P
Repeat rows 1 through 12 over and over to desired length.
Worked In the Round
EWCO (looms in counts of 5's)
In the video I used a 24 peg loom which worked well too.
Row 1: P
Row 2: K
Row 3: P
Row
4: K1 *(pedal: EWCO6, K1 P1 3x for 6 rows, EW6, K1, PPL place loop
made onto peg 1 of the 6 peg cast on pegs. K previous peg, then K2tog),
K3 ** Keep in mind when doing the pedal do not touch the stitches that
already exist on the peg. The pedal is being worked above those
stitches. Also repeat from *-** until desired length.
Row 5: P
Row 6: K
Row 7: P
Row 8: K
Row 9: P
Row 10: K3,*(pedal: EWCO6, K1 P1 3x for 6 rows, EW6, K1, PPL place loop made onto
peg 1 of the 6 peg cast on pegs. K previous peg, then K2tog), K3 ** Keep
in mind when doing the pedal do not touch the stitches that already
exist on the peg. The pedal is being worked above those stitches. Also
repeat from *-** until desired length.
Row 11: P
Row 12: K
Row 13: P
Row 14: K
Row 15: P
Repeat rows 1 through 12 over and over to desired length.
Check out the new fan cast on based off of this technique!!!
A Nice Trick to Open Up a Ray of Patterns for Different Looms
Now I could have sworn I posted about this in a video or blog but can't find it anywhere. So here it is. Please feel free to share this simple trick.
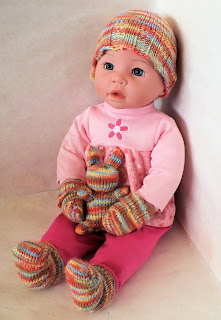
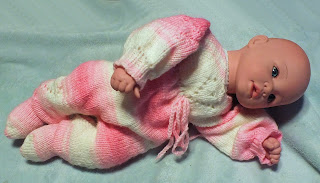
Did you know you can take a 24 peg loom in the 3/4" gauge that makes an adult large booties and animals and then go to the 24 peg 3/8" gauge and make it for a baby size then. Look at these examples below of just the change in gauge.
You can do it with all looms, lets say someone put out a 60 peg in the 3/8" gauge and you find tons of patterns in the 1/2" gauge, you can use those patterns to create baby sizing with those patterns.
Never again feel stifled by gauge, if you know there are patterns out there, and you want them smaller simply do this trick. If they start out in e-wrap and you want it really small find smallest gauge and flat knit. Also keep in mind if you are going from a small pattern to a larger for a bootie you may need to do just a few more rows.