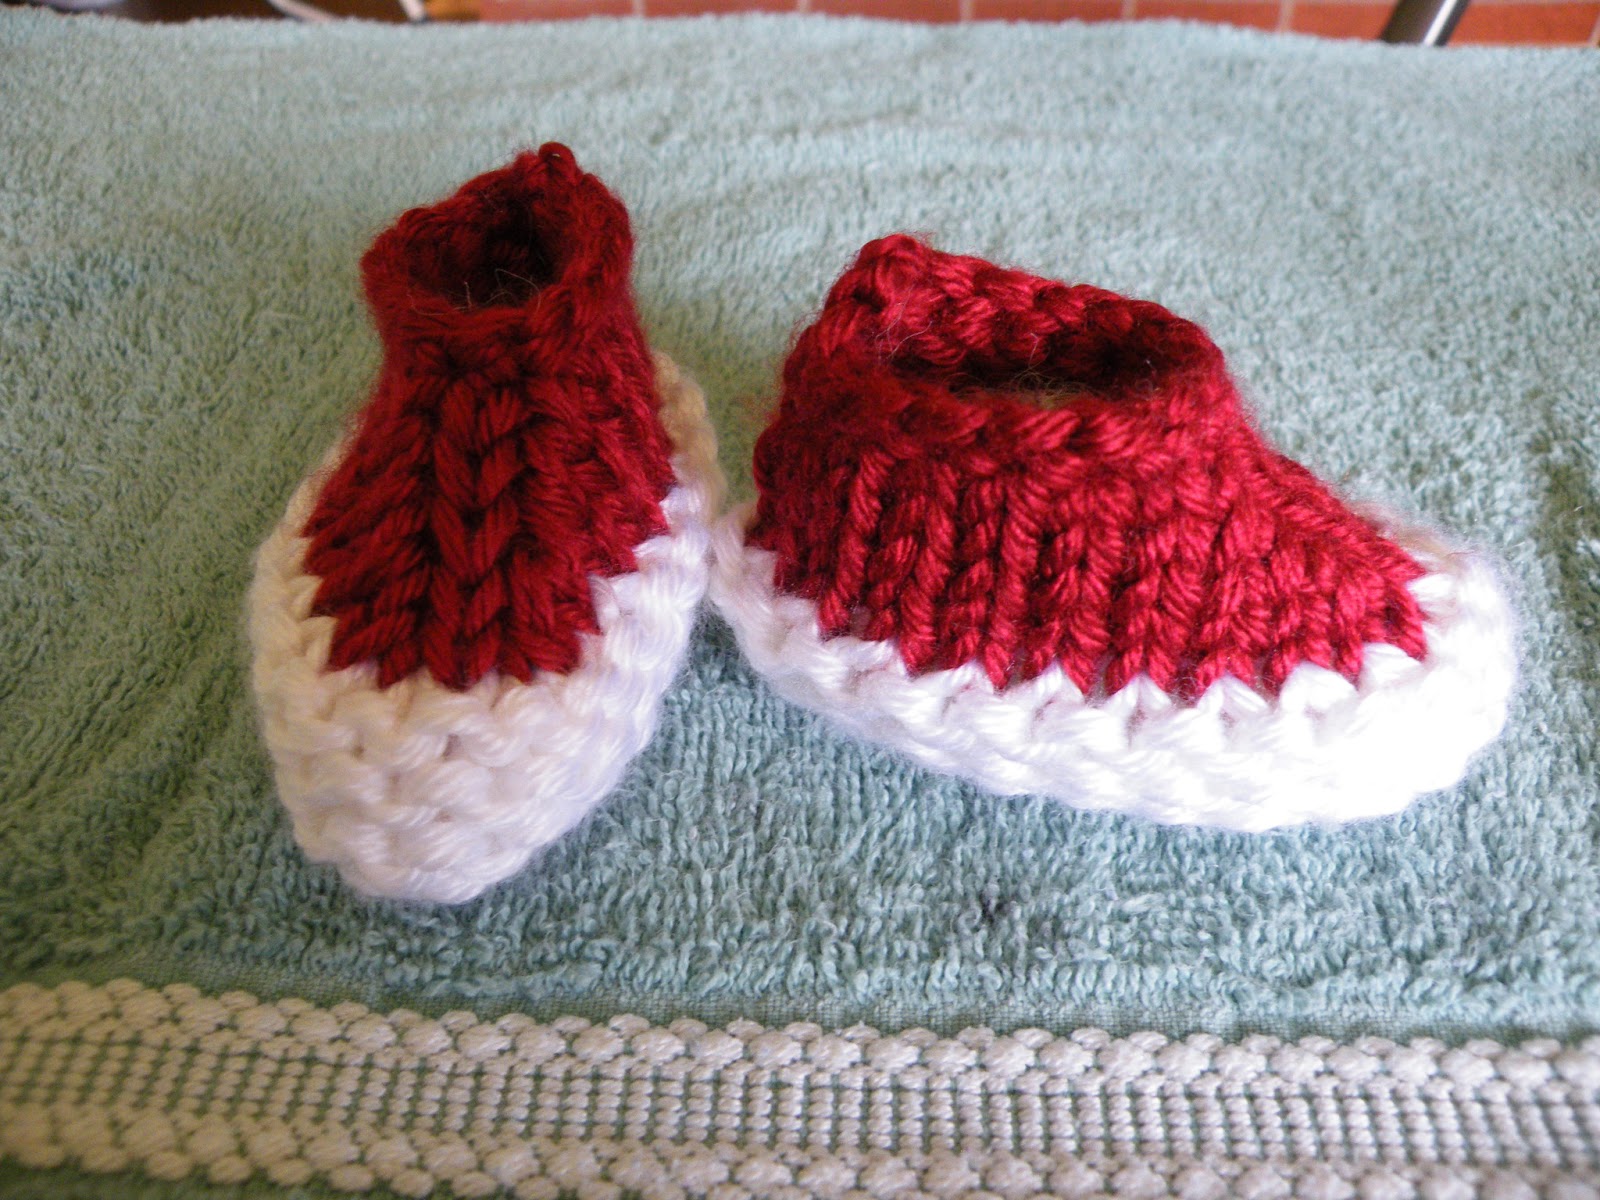
Ankle Booties Circular Loom
Small Knifty Knitter Circular Loom
Loom Hook
Crochet Hook
Crafters Needle
2 Skeins of a color
2 Skeins of white
Size for 6-9months
Sole of Shoe
Work Circular
E-wrap all pegs for cast on
Row 1-3 : Knit
Row 4: Purl
Row 5-6: Knit
Change color to your color you chose to work the top of the shoe.
Tennis Shoe Booties Circular Loom
Small Knifty Knitter Circular Loom
Loom Hook
Crochet Hook
Crafters Needle
2 Skeins of a color
2 Skeins of white
Size for 6-9months
Sole of Shoe
Work Circular
E-wrap all pegs for cast on
Row 1-3 : Knit
Row 4: Purl
Row 5-6: Knit
Change color to your color you chose to work the top of the shoe.
Top of the Shoe
Row 7-8: Knit work circular
Start working flat from last peg knit this is your new starting point.
Row 9: Decrease by 1 knit 16 Decrease 1 knit
Row 10: Decrease by 1 knit 14 Decrease 1 knit
Row 11: Decrease by 1 knit 12 Decrease 1 knit
Row 12: Decrease by 1 Knit 10 Decrease 1 Knit
Row 13: Knit
Cast off
Tongue of Shoe
Row 1-8: Knit
Row 9: Decrease by 1 knit 3 decrease 1 knit
Row 10: Knit
Cast off
Weave in your ends, tighten your original cast on of the sole, sew up.
Edge of shoe
Start by crocheting tongue to top of shoe by starting at the sole top. Crochet like you are going to sew the two together then loop bring yarn through then loop bring loop through both, then chain two loops, repeat to top of tongue. Then put an edge to the back of top of the shoe, stick hook through top edge of shoe loop bring through, loop bring through both, continue to other side and then start the beginning again connecting the tongue and top of shoe. Lace up and your done.
Tennis Shoe Booties
Small Long Knifty Knitter Loom
Loom Hook
Crochet Hook
Crafters Needle
2 Skeins of a color
2 Skeins of white
Want a smaller size you will need a knifty knitter divider.
You want the newborn size put divider where you will have 22 pegs to work. Use no divider if you want to just have a larger size.
Sole of Shoe
Work Circular
E-wrap all pegs for cast on
Row 1 : Knit
Row 2-4: Purl
Row 5: Knit
Row 6-7: Purl
Change color to your color you chose to work the top of the shoe.
Top of the Shoe
Row 8-9: Knit work circular
Start working flat from last peg knit this is your new starting point.
Row 10: Decrease by 1 knit 13 Decrease 1 knit
Row 11: Decrease by 1 knit 11 Decrease 1 knit
Row 12: Decrease by 1 knit 9 Decrease 1 knit
Row 13: Knit
Cast off
Tongue of Shoe
Row 1-6: Knit
Row 7: Decrease by 1 knit 3 decrease 1 knit
Row 8: Knit
Cast off
Weave in your ends, tighten your original cast on of the sole, sew up.
Edge of shoe
Start by crocheting tongue to top of shoe by starting at the sole top. Crochet like you are going to sew the two together then loop bring yarn through then loop bring loop through both, then chain two loops, repeat to top of tongue. Then put an edge to the back of top of the shoe, stick hook through top edge of shoe loop bring through, loop bring through both, continue to other side and then start the beginning again connecting the tongue and top of shoe. Lace up and your done.
Note: To make a larger size same rows of knit and purl for sole, and for the top of the shoe you want to work your way down to 16 total that includes the tongue. So basically you would seperate 6 pegs for the tongue, and for the top back of the shoe you would decrease by 1 on each end for each row till total down to 16.
Will be adding the circular loom example an pattern soon.
Here is the image to print for the garment, feel free to use the image on garments but do not claim it as your own. To buy a print got to this link here.
Here are the images to use to edit or the completed edit for print out. Feel free to use these images on garments but do not claim them as your own. If you are interested in prints please check out this link.